Why You’ll Love This Recipe
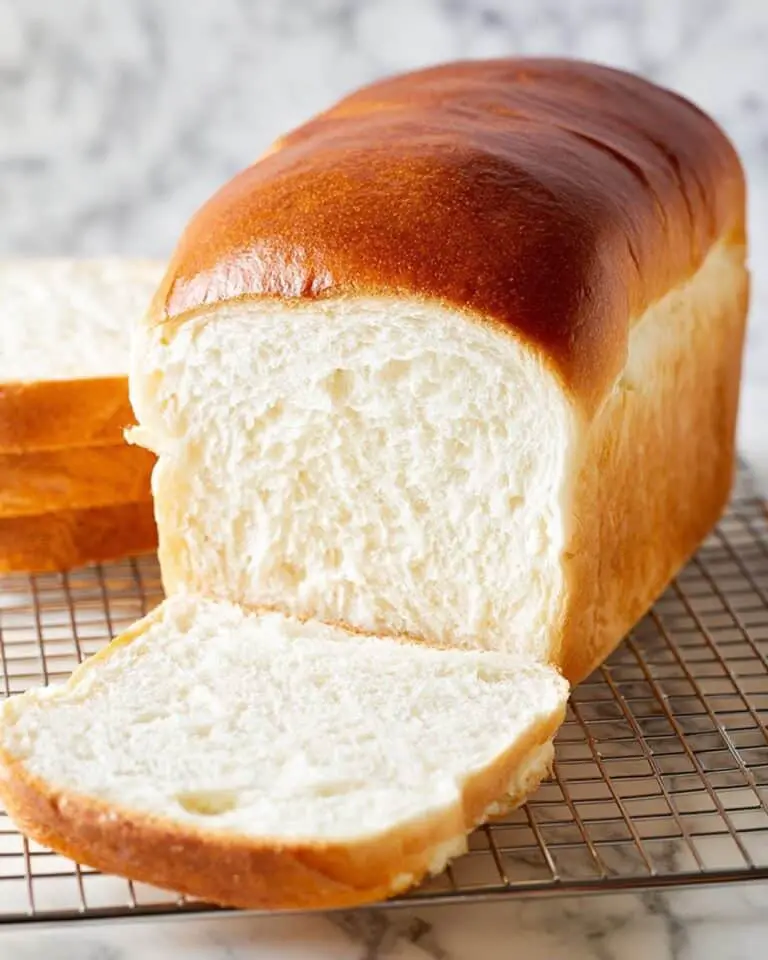
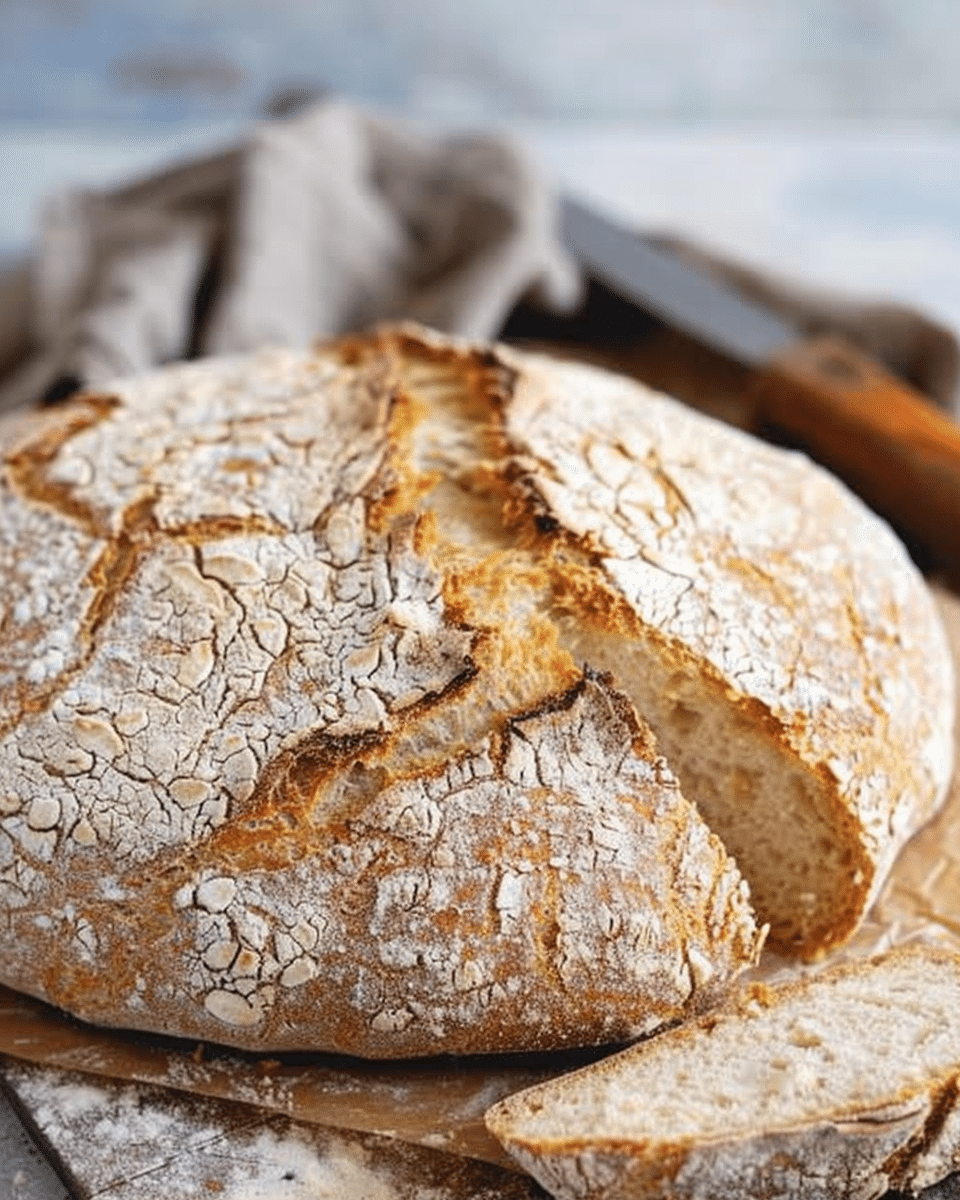
Not only is this bread gluten-free, but it’s also incredibly easy to make! No kneading required, which means less mess and less time spent in the kitchen. The dough is left to rise overnight, allowing the flavors to develop and the bread to become wonderfully soft. With a simple ingredient list and a hands-off process, you can have fresh, homemade bread that rivals anything you’d find in a bakery, all while being gluten-free. Whether you’re gluten intolerant or just looking for a new bread recipe, this one is sure to become a favorite.
Ingredients
Activate the Yeast:
- 1.5 cups warm water (370 ml)
- 1 teaspoon sugar (4 grams)
- ½ teaspoon active dry yeast (2 grams)
Dry Ingredients:
- 3 cups gluten-free flour (420 grams) – I used Caputo
- 1 teaspoon salt (5 grams)
(Tip: You’ll find the full list of ingredients and measurements in the recipe card below.)
Directions
Step 1: Activate the Yeast
In a small bowl or measuring cup, combine the warm water and sugar. Stir until the sugar is dissolved, then sprinkle the active dry yeast over the top. Let the mixture sit for 5-10 minutes, or until it becomes foamy and bubbly. This step is important to ensure that the yeast is active and will properly leaven the bread.
Step 2: Mix Dry Ingredients
In a large bowl, whisk together the gluten-free flour and salt until well combined.
Step 3: Combine Wet and Dry Ingredients
Once the yeast mixture is bubbly, pour it into the bowl with the dry ingredients. Stir with a wooden spoon or a spatula until the dough comes together. The dough will be sticky and shaggy—this is normal for no-knead bread.
Step 4: Let the Dough Rise
Cover the bowl with plastic wrap or a clean kitchen towel and place it in a warm, draft-free area. Let the dough rise for 12-18 hours (overnight works best), or until it has doubled in size. The longer the dough rises, the more flavor it will develop.
Step 5: Preheat the Oven and Prepare the Pan
When you’re ready to bake the bread, preheat your oven to 450°F (230°C). Place a Dutch oven or heavy oven-safe pot with a lid in the oven as it preheats. This helps create a steamy environment that gives the bread its beautiful crust.
Step 6: Shape the Dough
Once the dough has risen, lightly flour your hands and gently shape the dough into a round loaf. Be careful not to deflate the dough too much, as it should remain airy and light.
Step 7: Bake the Bread
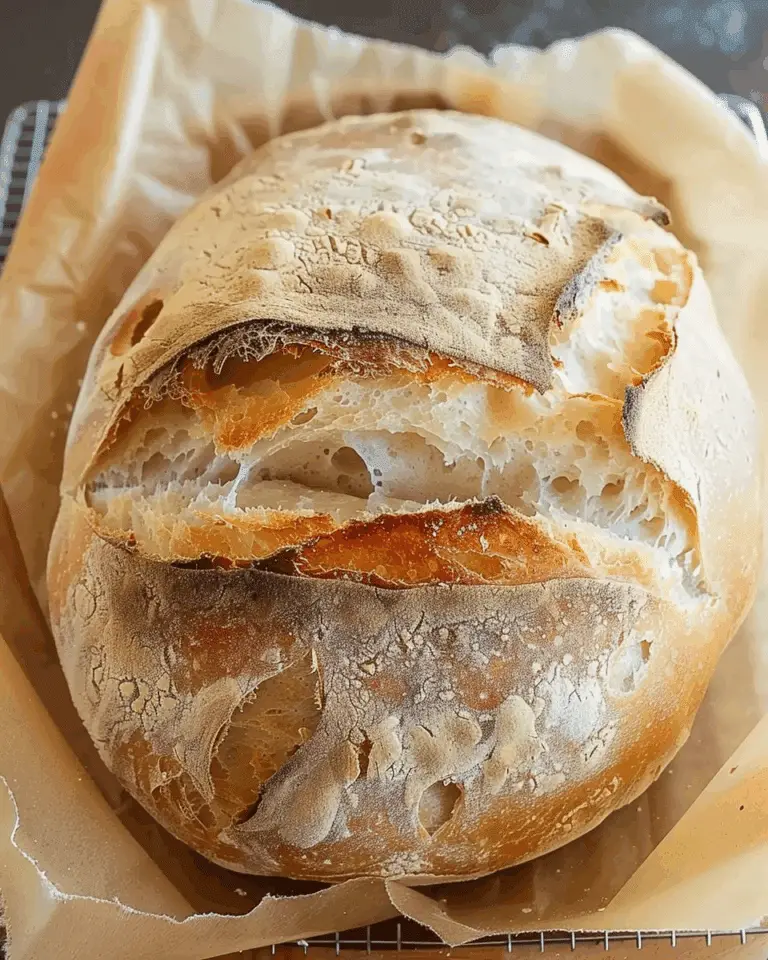
Carefully remove the preheated Dutch oven from the oven and place the dough inside. Cover the pot with its lid and bake for 30 minutes. After 30 minutes, remove the lid and continue baking for an additional 15-20 minutes, or until the bread is golden brown and sounds hollow when tapped on the bottom.
Step 8: Cool the Bread
Remove the bread from the oven and allow it to cool on a wire rack for at least 30 minutes before slicing. This ensures that the bread sets properly and makes it easier to slice.
Servings and Timing
- Servings: 8-10 slices
- Total Time: 13-20 hours (including rise time and bake time)
Variations
- Add-ins: You can add seeds, herbs, or nuts to the dough for extra flavor. Chia seeds, sunflower seeds, or chopped rosemary make great additions.
- Flour Blend: If you don’t have Caputo gluten-free flour, you can use a different gluten-free flour blend. Just ensure the blend you use contains xanthan gum or guar gum, as it helps provide structure to the dough.
- Sweet Bread: For a slightly sweeter version, you can add 1-2 tablespoons of honey or maple syrup to the dough.
Storage/Reheating
- Storage: Store any leftover bread in an airtight container at room temperature for up to 2-3 days. For longer storage, wrap the bread in plastic wrap and freeze for up to 3 months.
- Reheating: To reheat, wrap the bread in foil and warm it in a 350°F (175°C) oven for 10-15 minutes, or until it is heated through.
FAQs
Can I use a different type of gluten-free flour?
Yes, you can use another gluten-free flour blend, but the texture may vary slightly. Make sure the blend contains a binding agent like xanthan gum or guar gum to help provide structure to the bread.
Do I have to use a Dutch oven?
While a Dutch oven is ideal for creating a crispy crust, you can bake the bread on a regular baking sheet. Just place the dough on a parchment-lined baking sheet, cover it with a bowl or large pot to trap the steam, and bake as usual.
Can I add herbs or seeds to the dough?
Absolutely! Feel free to add herbs like rosemary or thyme, or seeds like sunflower or sesame, to the dough for added flavor and texture.
How do I know when the bread is done?
The bread is done when it has a golden-brown crust and sounds hollow when tapped on the bottom. You can also check the internal temperature with a thermometer—it should read about 200°F (93°C).
Can I make this bread without a Dutch oven?
Yes, you can bake this bread in any oven-safe pot with a lid or even on a baking sheet. If you use a baking sheet, cover the dough with a large bowl or pot during the first 30 minutes of baking to trap the steam.
Can I make this bread with a bread machine?
While this recipe is designed for hand preparation, you can try using a bread machine on the gluten-free setting. However, the no-knead method works best with this recipe for the desired texture.
What can I do if the dough is too dry?
If the dough feels too dry, add a small amount of water (1 tablespoon at a time) until the dough reaches the right consistency. It should be sticky but not overly wet.
Can I use kefir instead of buttermilk?
Yes, kefir works great as a substitute for buttermilk in this recipe. It will provide a similar tang and help with the bread’s rise.
Can I freeze the dough before baking?
You can freeze the dough after it has risen. Shape it into a loaf, wrap it tightly in plastic wrap, and freeze for up to 3 months. When you’re ready to bake, let it thaw in the fridge overnight and bake as usual.
Can I make this bread sweeter?
For a sweeter loaf, add 1-2 tablespoons of sugar or honey to the dough. This will create a slightly sweeter bread without compromising its texture.
Conclusion
This No-Knead Gluten-Free Bread is a game-changer for anyone looking for an easy and delicious homemade bread option. It requires minimal effort but yields a soft, flavorful loaf with a crispy crust. With its simple ingredients and straightforward process, this recipe is perfect for beginners or anyone short on time. Enjoy fresh, gluten-free bread that’s perfect for any meal—whether you’re enjoying it with butter, using it for sandwiches, or pairing it with a warm bowl of soup.
PrintNo-Knead Gluten-Free Bread
This No-Knead Gluten-Free Bread is an easy and fuss-free recipe that delivers a soft, fluffy loaf with a crispy crust. Perfect for gluten-free diets, this simple bread requires minimal effort and no kneading, making it ideal for sandwiches, toast, or as a side for soups and salads.
- Prep Time: 15 minutes
- Cook Time: 45-60 minutes
- Total Time: 13-20 hours (including rise time)
- Yield: 8-10 slices
- Category: Bread
- Method: No-Knead, Baking
- Cuisine: Gluten-Free, American
- Diet: Vegetarian
Ingredients
For Activating the Yeast:
1.5 cups warm water (370 ml)
1 teaspoon sugar (4 grams)
½ teaspoon active dry yeast (2 grams)
For Dry Ingredients:
3 cups gluten-free flour (420 grams) – Caputo or any gluten-free blend with xanthan gum or guar gum
1 teaspoon salt (5 grams)
Instructions
-
Activate the Yeast: In a small bowl, combine warm water and sugar. Stir until the sugar dissolves, then sprinkle active dry yeast on top. Let sit for 5-10 minutes until foamy.
-
Mix Dry Ingredients: In a large bowl, whisk together gluten-free flour and salt.
-
Combine Wet and Dry Ingredients: Pour the foamy yeast mixture into the dry ingredients and stir until the dough comes together. It will be sticky and shaggy.
-
Let the Dough Rise: Cover the bowl with plastic wrap or a towel and let it rise for 12-18 hours (overnight works best) in a warm, draft-free area.
-
Preheat the Oven and Prepare the Pan: Preheat your oven to 450°F (230°C) and place a Dutch oven or heavy oven-safe pot with a lid inside as it preheats.
-
Shape the Dough: After rising, lightly flour your hands and gently shape the dough into a round loaf. Be careful not to deflate the dough.
-
Bake the Bread: Carefully transfer the dough into the preheated Dutch oven. Cover with the lid and bake for 30 minutes. Remove the lid and continue baking for an additional 15-20 minutes until golden brown and hollow when tapped.
-
Cool the Bread: Remove from the oven and let cool on a wire rack for at least 30 minutes before slicing.
Notes
Add-ins: Feel free to add seeds (chia, sunflower), herbs (rosemary), or nuts to the dough for extra flavor and texture.
Flour Blend: Ensure your gluten-free flour contains xanthan gum or guar gum to help provide structure.
Sweet Version: Add 1-2 tablespoons of honey or maple syrup for a subtly sweet loaf.

