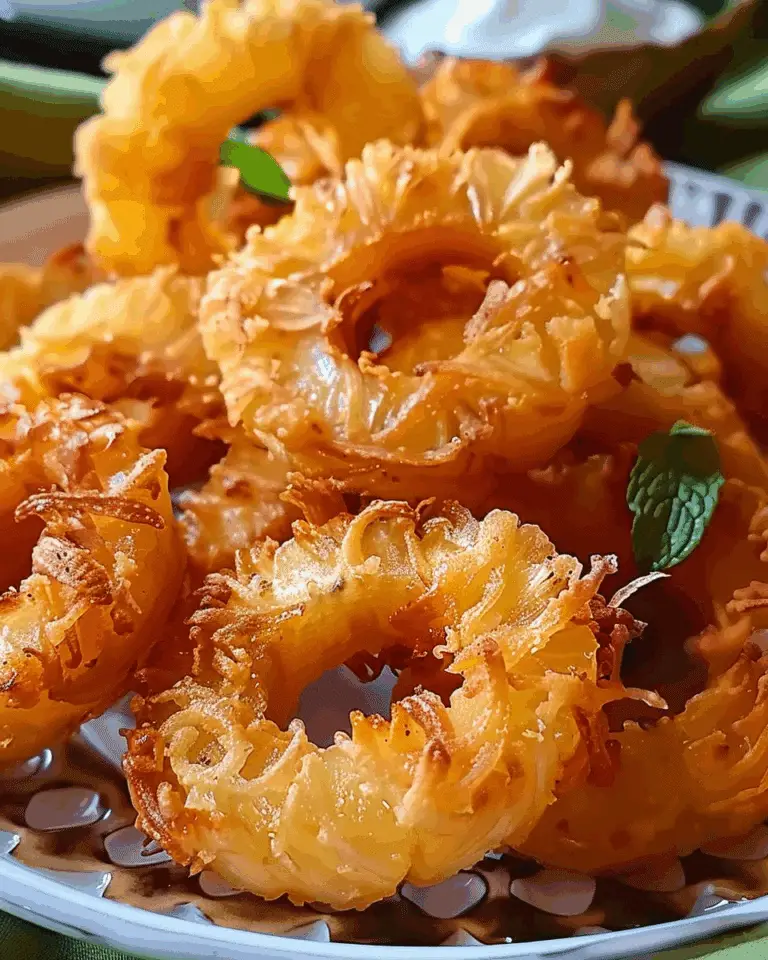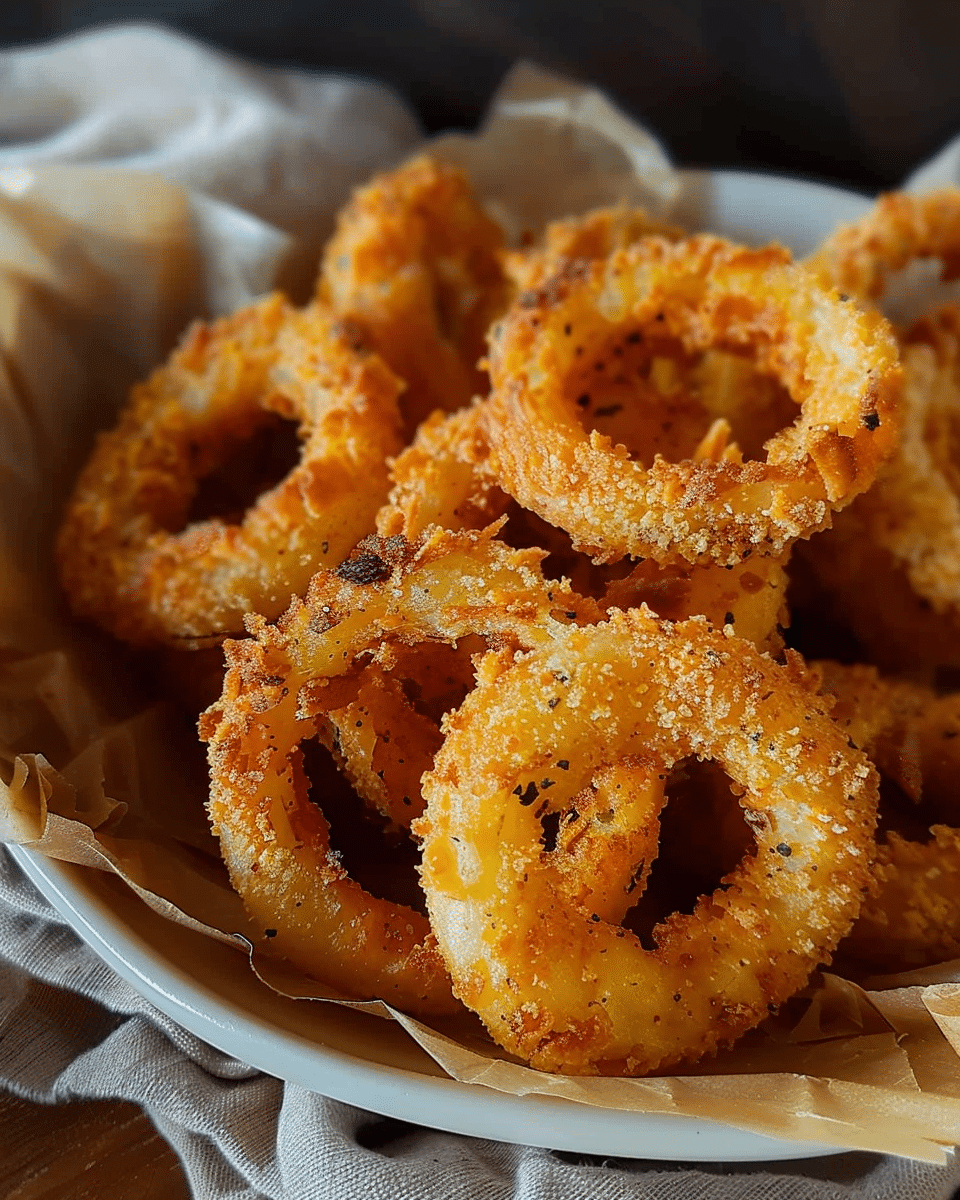
Why You’ll Love This Recipe
- Healthier alternative: Unlike traditional fried onion rings, these are baked, making them a lighter, healthier option without sacrificing flavor or crunch.
- Crispy texture: Thanks to the panko breadcrumbs and the right technique, these onion rings come out perfectly crispy every time.
- Easy to make: With simple ingredients and a straightforward process, this recipe is quick and easy to prepare.
- Customizable flavor: Adjust the spices to suit your taste, whether you like it more garlicky, spicy, or smoky.
- Perfect for any occasion: These onion rings make an excellent side dish, appetizer, or snack for a casual dinner or a party.
Ingredients
For the onions:
- 2 large sweet onions (Vidalia or yellow)
- 1 ½ cups buttermilk (or dairy-free substitute with a splash of vinegar or lemon juice)
- 1 tsp salt
For the coating:
- ¾ cup all-purpose flour
- 3 large eggs
- 2 tablespoons milk or water
- 2 cups panko breadcrumbs
- 1 tsp garlic powder
- 1 tsp paprika
- ½ tsp ground black pepper
- ½ tsp cayenne pepper (optional)
- Salt to taste
- Non-stick spray or olive oil spray
(Tip: You’ll find the full list of ingredients and measurements in the recipe card below.)
Directions
- Prepare the onions: Peel the onions and cut them into ½-inch thick rings. Discard the small center rings or save them for another use.
- Soak the onions: Place the onion rings in a large bowl. Pour the buttermilk over the onions and add 1 teaspoon of salt. Stir to ensure the onions are fully coated. Let the onions soak for at least 30 minutes to help the coating adhere better and to reduce any bitterness.
- Prepare the coating: While the onions are soaking, set up your breading station. In one shallow bowl, add the flour. In another shallow bowl, whisk together the eggs and 2 tablespoons of milk or water. In a third shallow bowl, combine the panko breadcrumbs, garlic powder, paprika, black pepper, cayenne pepper (if using), and salt. Mix well.
- Coat the onion rings: Remove the onion rings from the buttermilk and let any excess liquid drip off. First, dip each onion ring into the flour, ensuring it is coated evenly. Then, dip it into the egg mixture, allowing any excess egg to drip off. Finally, coat the onion ring in the panko breadcrumb mixture, pressing gently to make sure it sticks.
- Prepare to bake: Preheat your oven to 425°F (220°C). Line a baking sheet with parchment paper or a silicone baking mat. Place a cooling rack on top of the baking sheet for extra crispiness (optional). Lightly spray the onion rings with non-stick spray or olive oil spray to help them crisp up.
- Bake the onion rings: Arrange the coated onion rings in a single layer on the prepared baking sheet. Bake in the preheated oven for 18-20 minutes, flipping halfway through, until the onion rings are golden brown and crispy.
- Serve: Let the onion rings cool slightly before serving. Pair with your favorite dipping sauces, like ketchup, ranch, or a spicy mayo.
Servings and Timing
- Servings: This recipe makes approximately 4 servings.
- Prep time: 15 minutes (plus 30 minutes soaking time)
- Cook time: 18-20 minutes
- Total time: 48-50 minutes
Variations
- Spicy onion rings: Add more cayenne pepper or even a dash of hot sauce to the buttermilk for an extra spicy kick.
- Cheese-coated rings: Mix some grated Parmesan cheese into the panko breadcrumbs for a cheesy, savory coating.
- Gluten-free version: Swap out the all-purpose flour and panko breadcrumbs for gluten-free alternatives to make these onion rings gluten-free.
- Baked buttermilk ranch: For a ranch-style onion ring, add a tablespoon of dried ranch seasoning to the breadcrumbs mixture.
Storage/Reheating
- Storage: Store leftover onion rings in an airtight container in the refrigerator for up to 3 days.
- Reheating: To maintain their crispiness, reheat the onion rings in a preheated oven at 375°F (190°C) for 5-10 minutes or until heated through. You can also crisp them up in an air fryer for a few minutes.
FAQs
1. Can I use yellow onions instead of sweet onions?
Yes, yellow onions work just fine in this recipe. They’ll be a bit more pungent than sweet onions, but they still yield crispy and delicious results.
2. Do I need to soak the onions in buttermilk?
Soaking the onions in buttermilk helps the coating stick better and also helps reduce any bitterness. If you’re short on time, you can skip this step, but soaking is recommended for the best results.
3. Can I make these onion rings ahead of time?
You can prep the onion rings and coat them ahead of time, then store them in the refrigerator until you’re ready to bake them. You can also freeze the coated rings before baking for a later time.
4. Can I fry these onion rings instead of baking them?
Yes, you can fry these onion rings instead of baking them. Heat vegetable oil in a deep fryer or large pot and fry the onion rings for about 2-3 minutes or until golden and crispy. Be sure to drain them on paper towels to remove excess oil.
5. Can I make these onion rings gluten-free?
Yes, substitute the all-purpose flour with a gluten-free flour blend and use gluten-free panko breadcrumbs to make these onion rings gluten-free.
6. How do I make the coating extra crispy?
For extra crispiness, make sure to use panko breadcrumbs and spray the coated onion rings with non-stick spray or olive oil spray before baking. You can also place them on a cooling rack while baking to allow air circulation around the rings.
7. Can I use a different type of breadcrumbs?
If you don’t have panko breadcrumbs, you can use regular breadcrumbs, but they won’t be quite as light and crispy. Panko breadcrumbs are best for achieving a crunchy texture.
8. Can I make these onion rings without eggs?
If you’re looking for an egg-free version, you can substitute the eggs with a flax egg (1 tablespoon ground flaxseed mixed with 3 tablespoons water) or a dairy-free buttermilk substitute.
9. How can I prevent the coating from falling off during baking?
Be sure to press the breadcrumbs into the onion rings to make sure the coating sticks. Also, make sure to flip them halfway through baking to ensure even crispiness.
10. Can I freeze the coated onion rings?
Yes, you can freeze the coated onion rings before baking them. Lay them out in a single layer on a baking sheet, freeze until solid, then transfer to a freezer bag for storage. Bake from frozen, adding a few extra minutes to the cooking time.
Conclusion
These Crispy Baked Onion Rings are a healthier and equally delicious alternative to the traditional deep-fried version. With a crunchy panko coating, a subtle kick of spice, and a tender onion center, they’re perfect for any occasion. Whether you enjoy them as a snack, a side dish, or a topping for burgers, they’re sure to become a favorite. Plus, with the ease of baking, they’re simple to make without the mess of frying. Enjoy these crispy treats fresh from the oven, and savor every bite!
PrintCrispy Baked Onion Rings
Crispy Baked Onion Rings are the healthier, lighter alternative to the traditional fried version, offering the perfect balance of crunch and flavor. Coated in seasoned panko breadcrumbs and baked to golden perfection, these onion rings are an easy-to-make, crispy treat that’s ideal as a side dish, snack, or topping for burgers. Enjoy the crunch without the grease in this simple and delicious recipe!
- Prep Time: 15 minutes (plus 30 minutes soaking time)
- Cook Time: 18-20 minutes
- Total Time: 48-50 minutes
- Yield: 4 servings
- Category: Appetizer, Snack, Side Dish
- Method: Baking
- Cuisine: American
- Diet: Gluten Free
Ingredients
For the onions:
2 large sweet onions (Vidalia or yellow)
1 ½ cups buttermilk (or dairy-free substitute with a splash of vinegar or lemon juice)
1 tsp salt
For the coating:
¾ cup all-purpose flour
3 large eggs
2 tablespoons milk or water
2 cups panko breadcrumbs
1 tsp garlic powder
1 tsp paprika
½ tsp ground black pepper
½ tsp cayenne pepper (optional)
Salt to taste
Non-stick spray or olive oil spray
Instructions
-
Prepare the onions: Peel and slice the onions into ½-inch thick rings. Discard or save the small center rings for another use.
-
Soak the onions: Place the onion rings in a bowl, pour over the buttermilk, and add 1 teaspoon of salt. Stir to ensure the onions are fully coated. Let them soak for at least 30 minutes for better coating adhesion.
-
Prepare the coating: Set up a breading station with three shallow bowls. In the first bowl, add the flour. In the second, whisk together the eggs and 2 tablespoons of milk or water. In the third, combine panko breadcrumbs, garlic powder, paprika, black pepper, cayenne pepper (if using), and salt. Mix well.
-
Coat the onion rings: Remove the soaked onion rings from the buttermilk, allowing excess liquid to drip off. First, dip each ring in the flour, ensuring it’s evenly coated. Next, dip it in the egg mixture, letting any excess drip off, and then coat it in the panko breadcrumb mixture, pressing gently to ensure the breadcrumbs stick.
-
Prepare to bake: Preheat your oven to 425°F (220°C). Line a baking sheet with parchment paper or a silicone mat. For extra crispiness, place a cooling rack on top of the baking sheet. Lightly spray the onion rings with non-stick spray or olive oil spray.
-
Bake the onion rings: Arrange the onion rings in a single layer on the baking sheet. Bake for 18-20 minutes, flipping halfway through, until they are golden brown and crispy.
-
Serve: Let the onion rings cool slightly before serving. Pair them with your favorite dipping sauces like ketchup, ranch, or spicy mayo.
Notes
Storage: Store leftover onion rings in an airtight container in the refrigerator for up to 3 days. To maintain crispiness, reheat in a preheated oven at 375°F (190°C) for 5-10 minutes.
Freezing: Freeze the coated onion rings before baking. Lay them on a baking sheet, freeze until solid, then transfer to a freezer bag. Bake from frozen, adding extra time as needed.


