Why You’ll Love This Recipe
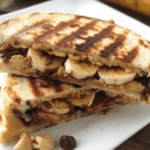
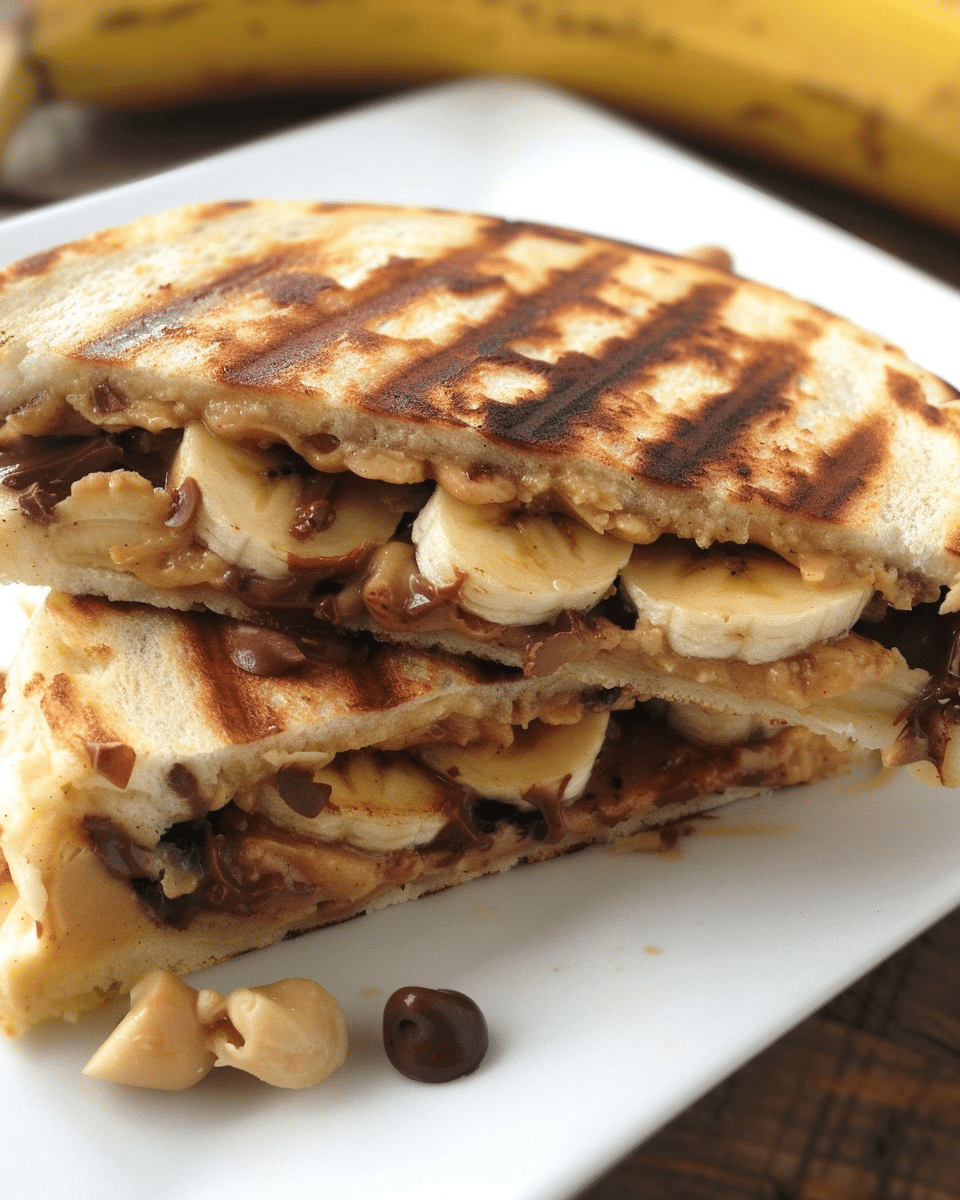
This Chocolate Peanut Butter Banana Pita Panini brings together the classic flavors of peanut butter and banana in a fun, portable panini form. The combination of reduced-fat peanut butter, cream cheese, and fat-free yogurt creates a creamy and rich filling, while the cinnamon adds a warm, comforting touch. With the crunchy roasted peanuts, gooey chocolate chips, and sweet raisins, every bite is a perfect mix of textures. Plus, it’s easy to make and can be customized with your favorite add-ins or bread options!
Ingredients
- 6 tablespoons reduced fat creamy-style peanut butter
- 3 ounces 1/3 less fat cream cheese
- ¼ cup SPLENDA® Brown Sugar Blend
- 2 tablespoons fat-free plain yogurt
- ¼ teaspoon ground cinnamon
- 2 tablespoons chopped, roasted peanuts
- 4 teaspoons mini semi-sweet chocolate chips
- ¼ cup raisins
- 4 small (4-inch) pita breads, halved
- 1 large banana, thinly sliced
- 1 tablespoon margarine, melted
(Tip: You’ll find the full list of ingredients and measurements in the recipe card below.)
Directions
- Prepare the filling: In a medium bowl, combine the reduced-fat peanut butter, cream cheese, SPLENDA® Brown Sugar Blend, fat-free yogurt, and ground cinnamon. Stir until smooth and well-combined.
- Add mix-ins: Stir in the chopped roasted peanuts, mini chocolate chips, and raisins. This will create a sweet, creamy filling with a delightful crunch.
- Assemble the paninis: Take the pita halves and spread a generous amount of the peanut butter mixture on the inside of each half. Place a few slices of banana on top of the filling in each pita half.
- Grill the panini: Brush the outside of the pitas with the melted margarine. Heat a panini press or grill pan over medium heat. Place the prepared pita halves on the press or in the pan and grill for 2-4 minutes, or until golden brown and crispy.
- Serve: Once the paninis are toasted and the filling is warm and gooey, remove from the grill and serve immediately. You can cut them into halves or quarters for easier eating.
Servings and Timing
- Servings: This recipe makes 4 mini paninis (1 per person or 2 as a light snack).
- Prep time: 10 minutes
- Cook time: 4 minutes
- Total time: 14 minutes
Variations
- Nut-Free Option: If you’re looking to make this panini nut-free, you can swap out the peanut butter for sunflower seed butter and the roasted peanuts for sunflower seeds.
- Dairy-Free Option: Use dairy-free cream cheese, margarine, and yogurt to make this panini suitable for dairy-free diets.
- Add More Fruit: Try adding sliced strawberries, apples, or blueberries along with the banana for a burst of fruity sweetness.
- Spice it Up: Add a pinch of nutmeg or a drizzle of honey for an extra layer of flavor.
Storage/Reheating
- Storage: These paninis are best enjoyed fresh, but any leftover filling can be stored in an airtight container in the fridge for up to 3 days.
- Reheating: If you have leftovers, you can store the panini in the fridge and reheat it in a toaster oven or grill pan to get the crispy exterior back.
FAQs
1. Can I use whole wheat pita bread?
Yes, you can definitely use whole wheat pita bread for a healthier option. It will add a nice nutty flavor to the panini.
2. Can I use a regular peanut butter instead of reduced fat peanut butter?
Yes, regular peanut butter works just fine, but keep in mind that it will add more fat and calories. Choose a natural peanut butter without added sugars if you want to keep it on the healthier side.
3. Can I make this panini without a panini press?
Absolutely! If you don’t have a panini press, you can use a grill pan or even a regular skillet. Just press the pita halves down with a spatula while cooking to help them crisp up evenly.
4. Can I make these ahead of time?
While these paninis are best served fresh, you can prepare the filling in advance and store it in the fridge. When you’re ready, just assemble the paninis and grill them.
5. Can I use other fruits besides banana?
Yes, other fruits like strawberries, raspberries, or even peaches would work great in this panini. Just be sure to slice them thinly to ensure they heat up nicely.
6. Can I use regular sugar instead of SPLENDA® Brown Sugar Blend?
Yes, you can use regular brown sugar or any sweetener of your choice. Just adjust the amount according to your sweetness preference.
7. Can I make these without chocolate chips?
Yes, if you’re not a fan of chocolate, you can omit the chocolate chips and add extra raisins or even shredded coconut for a different twist.
8. Is there a gluten-free version of this recipe?
Yes, you can easily make this recipe gluten-free by using gluten-free pita bread or another gluten-free flatbread option.
9. How do I know when the panini is done?
The panini is done when the pita bread is golden brown and crispy on the outside, and the filling inside is warm and gooey. Make sure not to overcook, or the bread might become too hard.
10. Can I freeze the paninis?
It’s best to freeze the filling separately, as the pita bread might become soggy when frozen. Once you’re ready to eat, just assemble and grill the paninis.
Conclusion
This Chocolate Peanut Butter Banana Pita Panini is a fun and satisfying snack or dessert that brings together some of the best flavors—peanut butter, banana, chocolate, and a hint of cinnamon. The creamy filling paired with crunchy roasted peanuts and sweet raisins makes this panini a perfect balance of textures. Whether you’re enjoying it for breakfast, as an afternoon snack, or a light dessert, it’s a quick and delicious treat that will hit the spot every time.
PrintChocolate Peanut Butter Banana Pita Panini
This Chocolate Peanut Butter Banana Pita Panini combines creamy peanut butter, rich chocolate, sweet banana, and a crispy pita for a delicious, easy-to-make snack or dessert. With a hint of cinnamon and the crunch of roasted peanuts and raisins, it’s the perfect balance of sweet and savory in every bite.
- Prep Time: 10 minutes
- Cook Time: 4 minutes
- Total Time: 14 minutes
- Yield: 4 mini paninis (1 per person or 2 for a light snack)
- Category: Snack, Dessert
- Method: Grilling, Pan-Cooking
- Cuisine: American
- Diet: Gluten Free
Ingredients
For the filling:
6 tablespoons reduced-fat creamy-style peanut butter
3 ounces 1/3 less fat cream cheese
1/4 cup SPLENDA® Brown Sugar Blend
2 tablespoons fat-free plain yogurt
1/4 teaspoon ground cinnamon
2 tablespoons chopped, roasted peanuts
4 teaspoons mini semi-sweet chocolate chips
1/4 cup raisins
For the panini:
4 small (4-inch) pita breads, halved
1 large banana, thinly sliced
1 tablespoon margarine, melted
Instructions
-
Prepare the filling: In a medium bowl, combine the reduced-fat peanut butter, cream cheese, SPLENDA® Brown Sugar Blend, fat-free yogurt, and ground cinnamon. Stir until smooth and well-combined.
-
Add mix-ins: Stir in the chopped roasted peanuts, mini chocolate chips, and raisins.
-
Assemble the paninis: Take the pita halves and spread a generous amount of the peanut butter mixture on the inside of each half. Place a few slices of banana on top of the filling in each pita half.
-
Grill the panini: Brush the outside of the pitas with melted margarine. Heat a panini press or grill pan over medium heat. Place the prepared pita halves on the press or in the pan and grill for 2-4 minutes, or until golden brown and crispy.
-
Serve: Once the paninis are toasted and the filling is warm and gooey, remove from the grill and serve immediately. You can cut them into halves or quarters for easier eating.
Notes
Storage: These paninis are best enjoyed fresh, but any leftover filling can be stored in an airtight container in the fridge for up to 3 days.
Reheating: If you have leftovers, you can reheat them in a toaster oven or grill pan to bring back the crispy exterior.
Add-ins: Feel free to add strawberries, apples, or blueberries along with the banana for extra fruity sweetness.
Spice it up: Add a pinch of nutmeg or a drizzle of honey for extra flavor.

